Building a House in Việt Nam — Part 5
Brick by brick, floor by floor
This Substack is about life in Việt Nam from the viewpoint of a 10-year expat who spent his first 60 years in a low-context culture.
Tapping the ❤️ at the top or bottom of the page and/or leaving a comment will let me know your thoughts and feelings, which are important and valuable to me. Doing so also helps others find this article. Thank you.
This is the fifth in a series about my experiences building a bespoke house in Đà Lạt (Dalat), which sits at about 1500m (~4900ft) altitude in the Central Highlands. Previous posts include:
Today’s installment is about standard Vietnamese construction methods — how they actually build most houses in Vietnam of bricks covered with concrete inside and out instead of the wooden or metal studs covered with sheetrock (inside) and brick or siding (outside) familiar to much of the western world.
Our house is 70m (230ft) down a 2m (79 in) at its narrowest dog-leg hem (alley), off a 3m (10 ft) wide hem. This dictated that all concrete had to be mixed on-site in small batches using the mixer just left of center above. Building sites closer to the main road can have a pumper truck come in for the big slab pours and pre-cast beams and columns are shipped to the site.

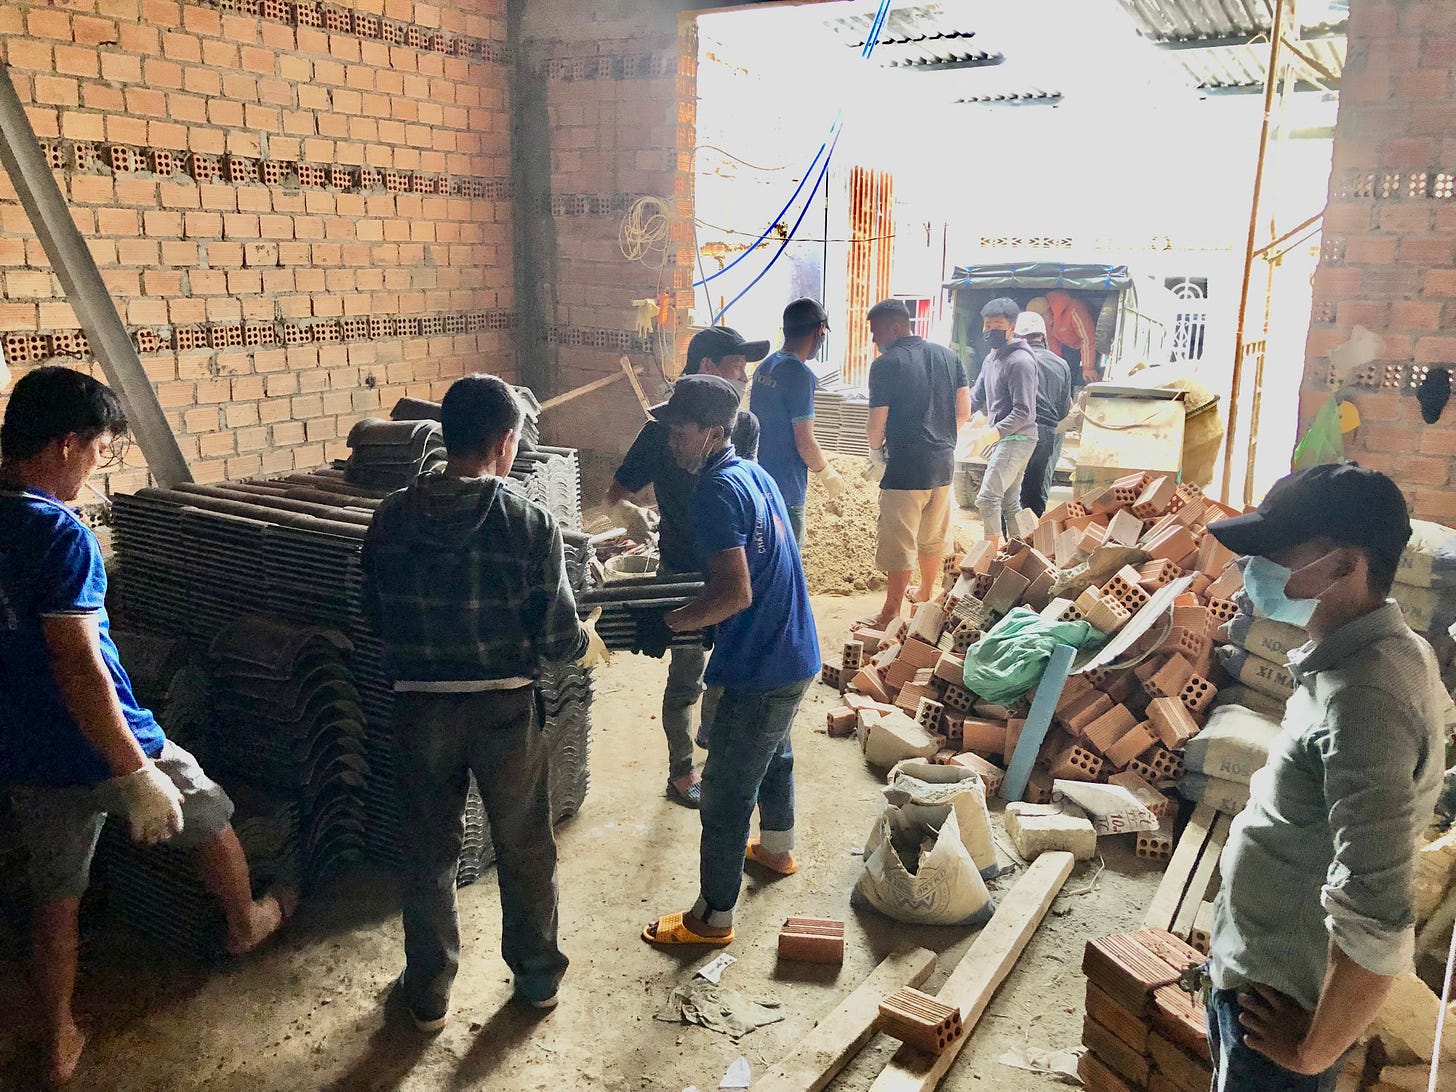
Everything was delivered to us either by very small trucks,
or if brought on a larger truck, hand-carried 70m down the alley. The 10m+ long rebar shown in a later photo and similar length aluminum roof support beams, for example, were hand-carried.
After delivery, everything not slated for the ground floor was eventually taken upstairs bucket brigade-style.
Once the first floor (i.e. first above the ground) was cured, they erected scaffolding with an electric winch to bring concrete and bricks to the upper levels.

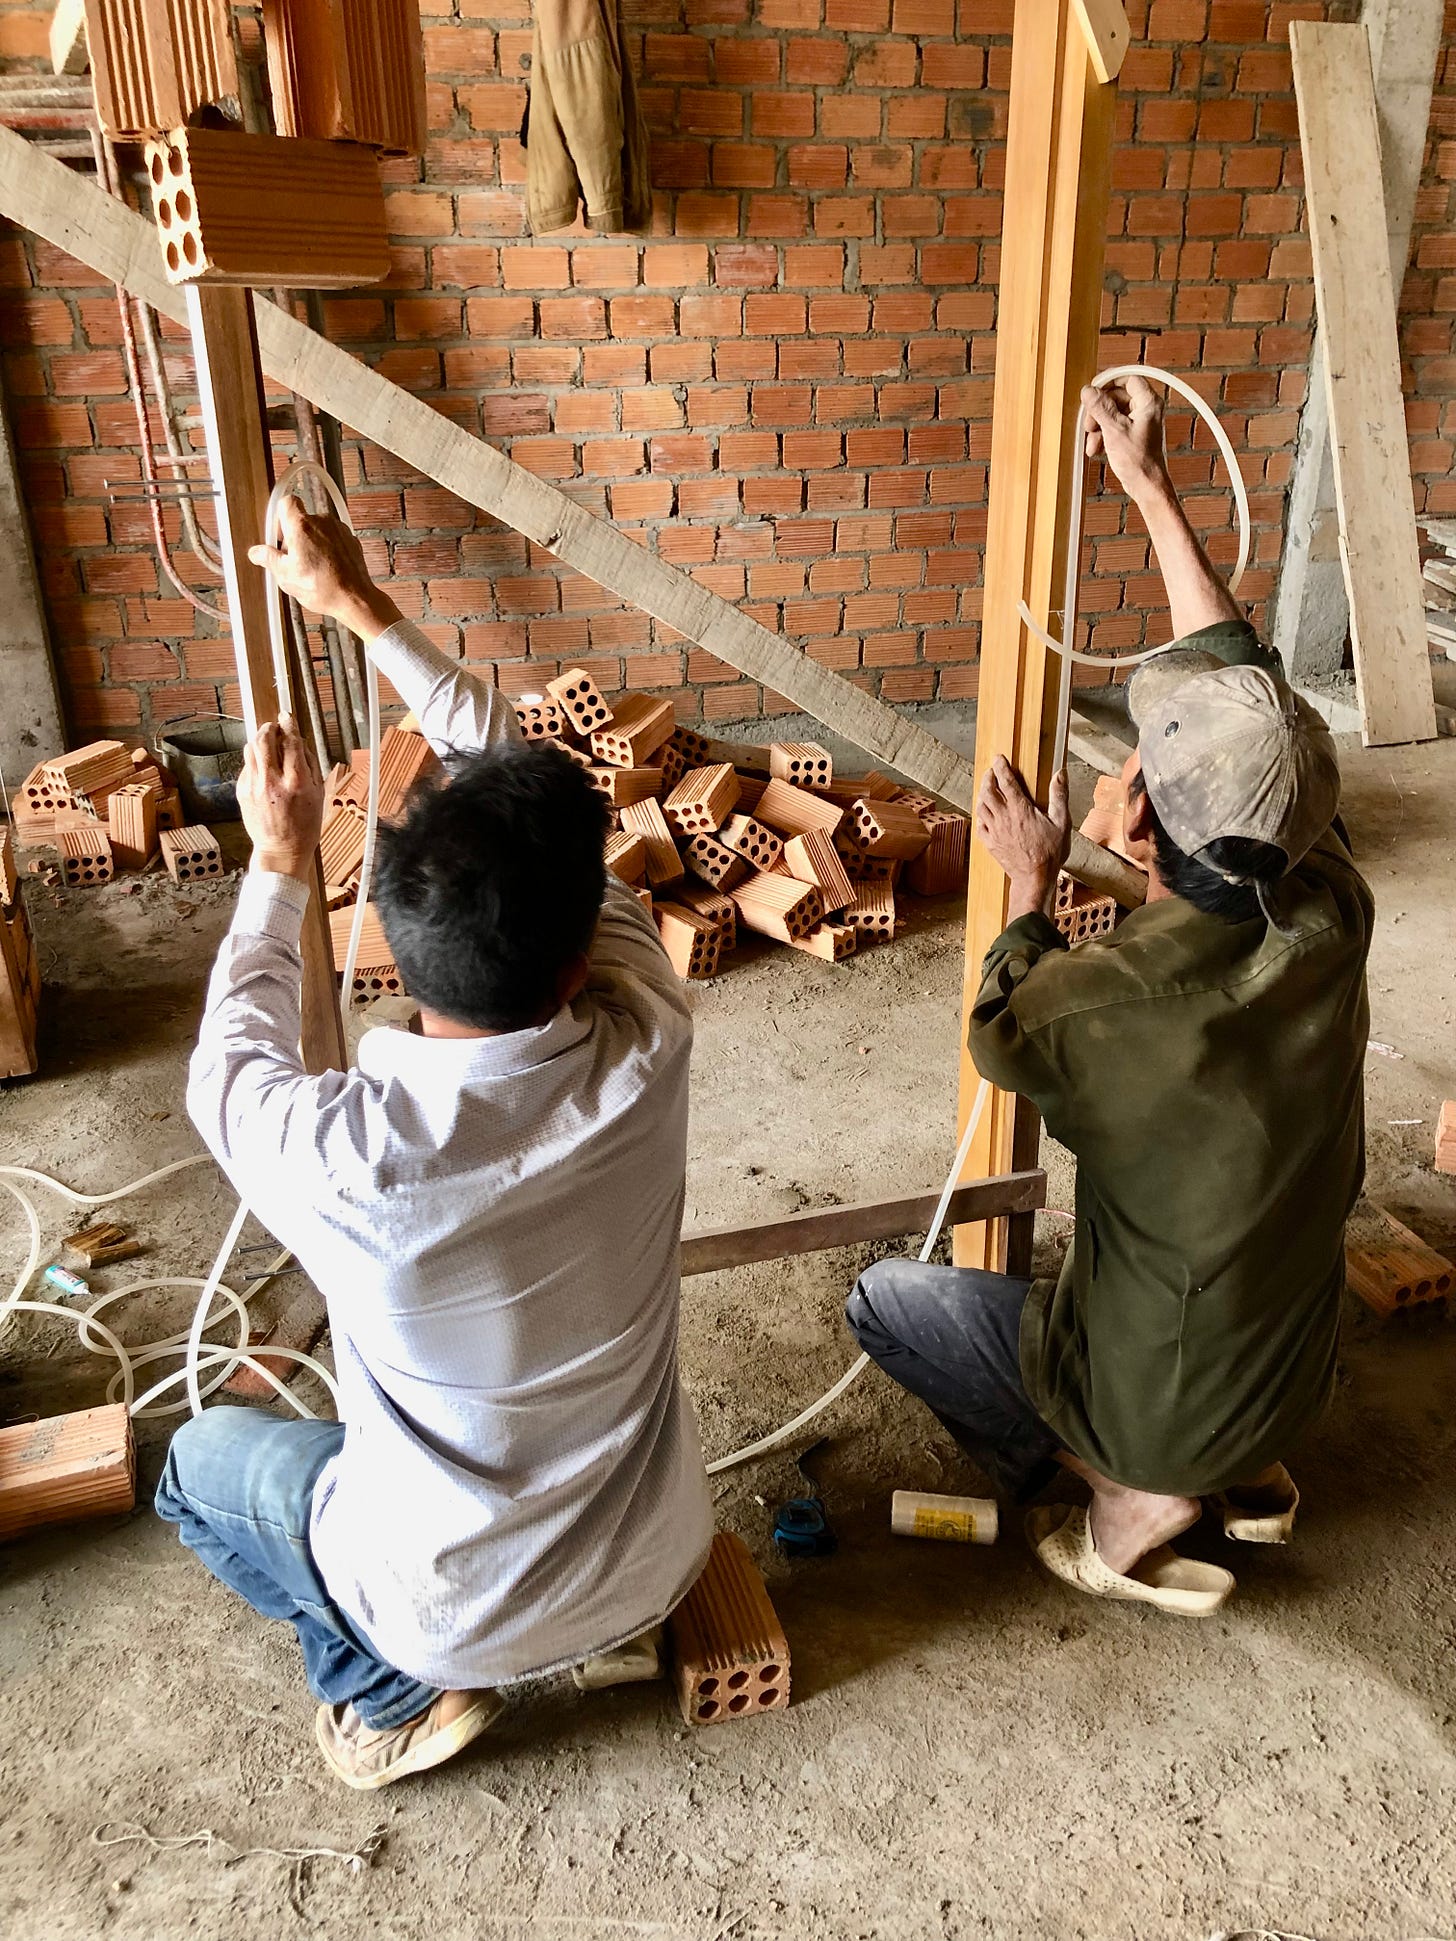
Everything else was done either by manual labor or with handheld power tools. Techniques that worked hundreds of years ago still work today.
Safety Last
As they were building the forms for the first floor, the ground floor became a maze of scaffolding ready to support the slab and the 25cm-thick (10 in) beams.

Yes, everyone going beyond what would eventually be the front door got to gingerly pick their way through the maze, hoping not to break an ankle.
Or two.
I banged my head a few times on the boards interlaced throughout the scaffolding above the workers’ heads and at about the height of my temple.
And yes, there is no OSHA or equivalent here, so hard hats, harnesses, et al aren’t used. They also wear crappy motorbike helmets, so it’s not surprising.

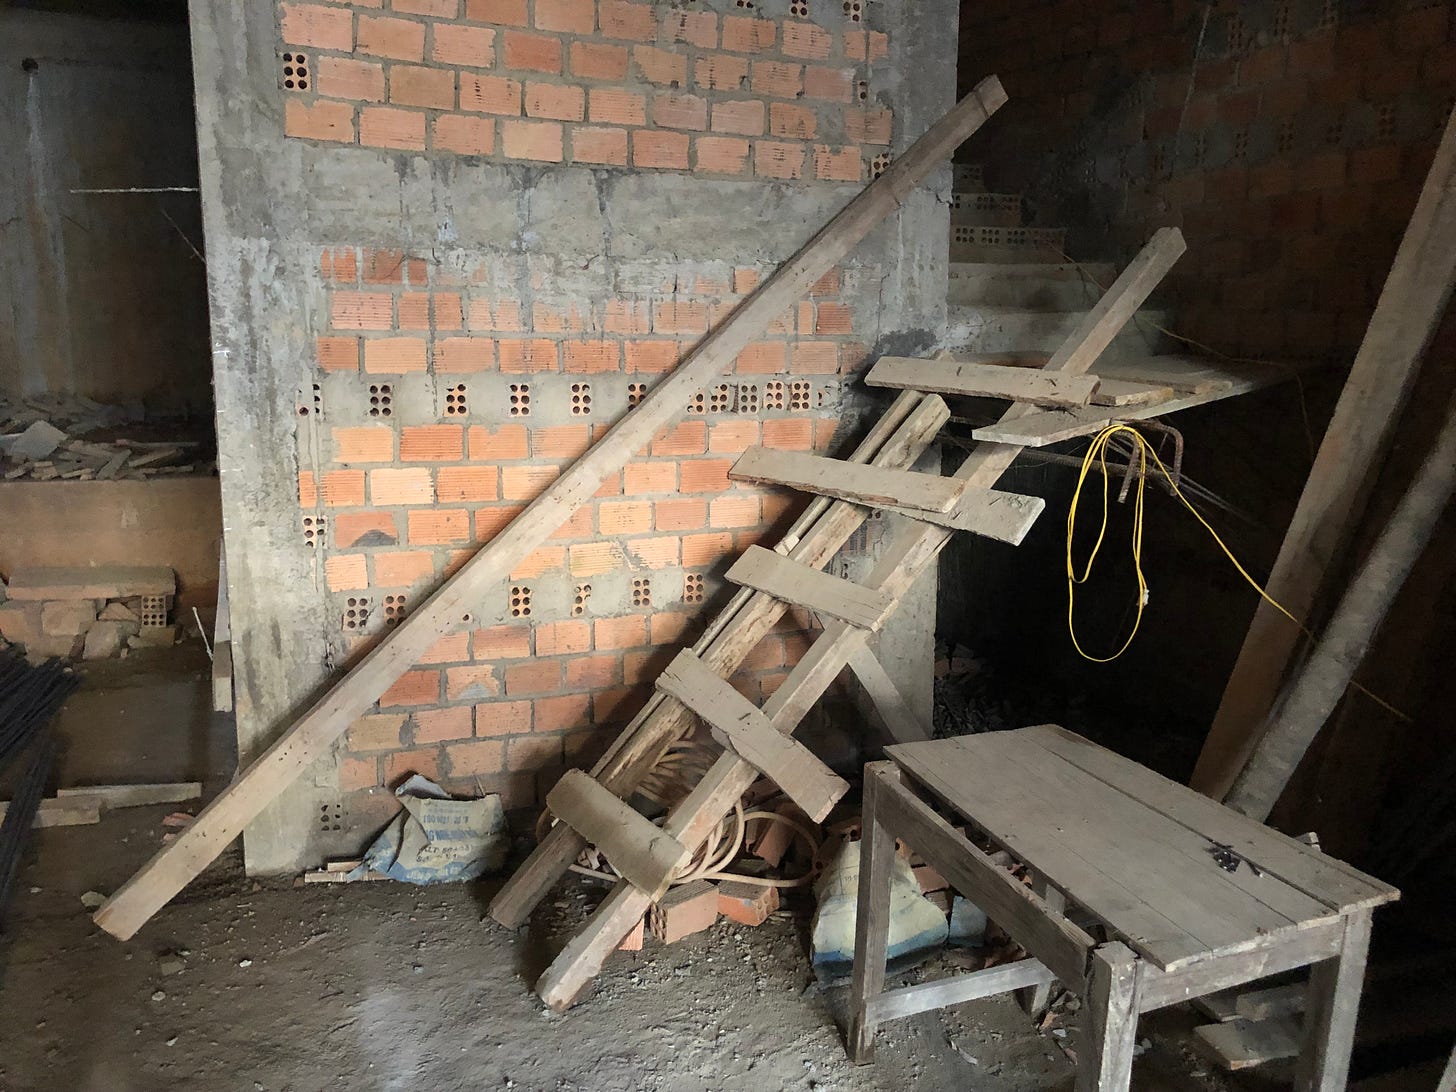
In the interest of the workers’ personal comfort, I offered to pay for a Porta-Potty, but the builder didn’t know what I was talking about1. When nature called, the workers depended on the charity of neighbors. Mostly.
At one point I discovered that a couple of them were using my daughter’s future closet wall as a urinal. After they finished scrubbing it down very well with bleach, I told the builder that either he could fire them or I could fire him. He wisely made sure they would never return to the job site.
I also supervised an extra coat of sealer to those walls before painting.
Everything fabricated on-site
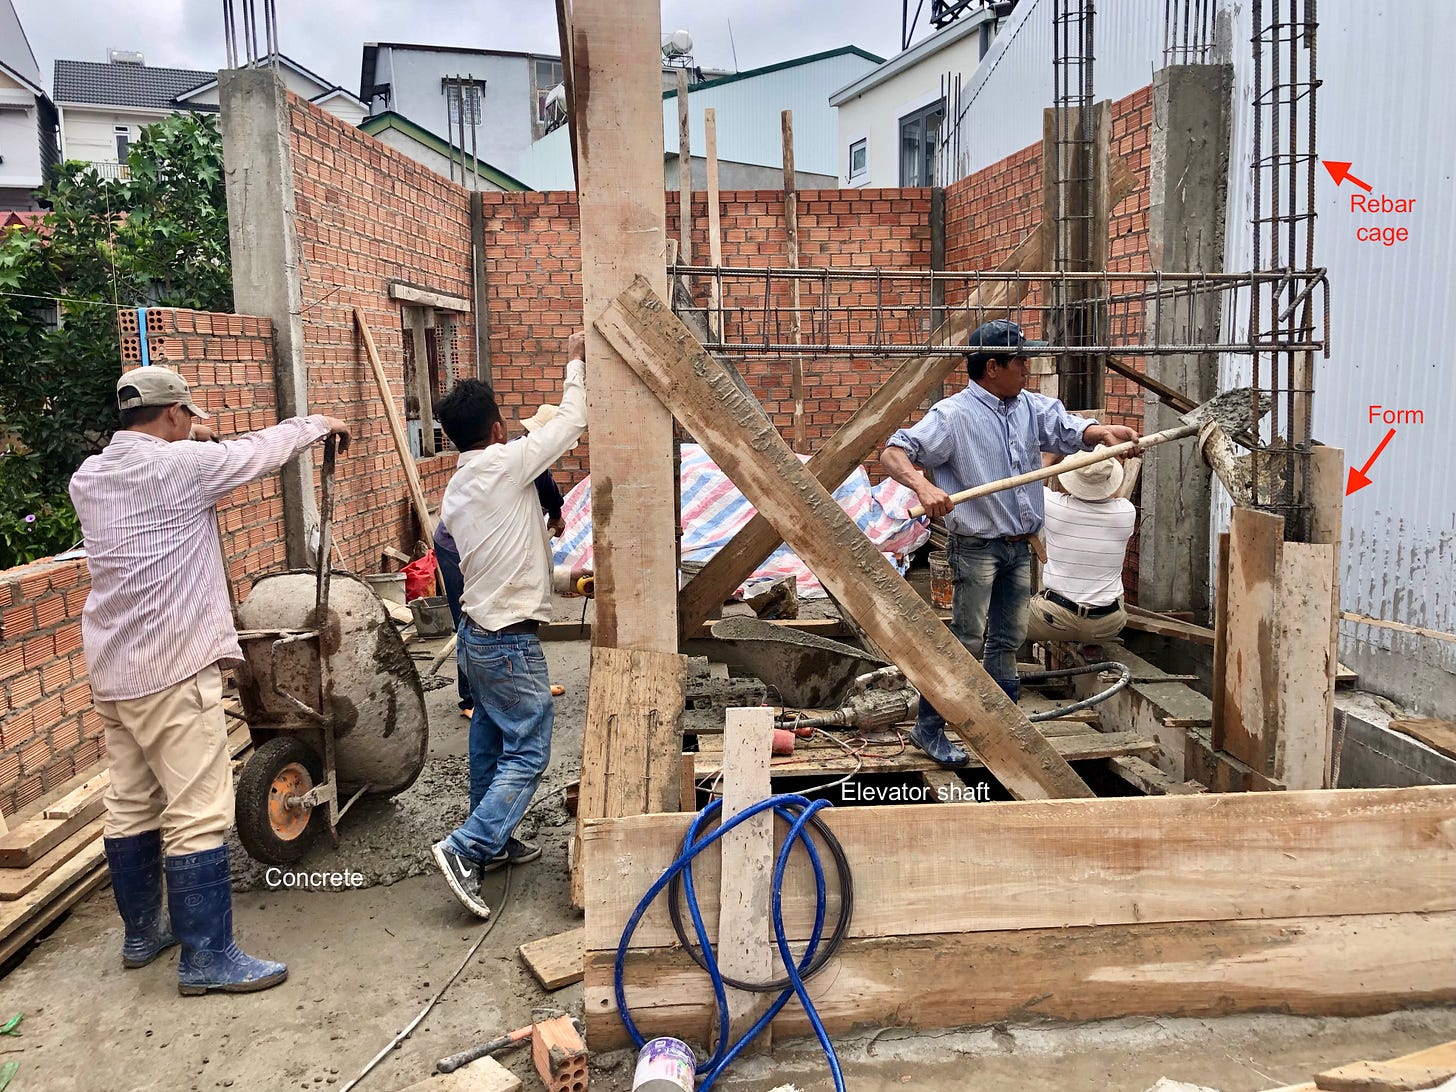
As I mentioned at the beginning, anything make of concrete was hand-fabricated on location, as were the rebar column cages that the concrete was poured into and around. These are necessary to allow the concrete to stretch and bend (a bit) without failing. The beam cage they’re working on below will be dropped down so that the top is just above the top of the wooden slab form they’re sitting on. They later made similar cages for each of the “beam slots” you see in the floor.
It was quite interesting to watch them work on these.
Below, the first floor is just about ready to pour. You can see how the rebar beam cages sit in the “slots” shown above.
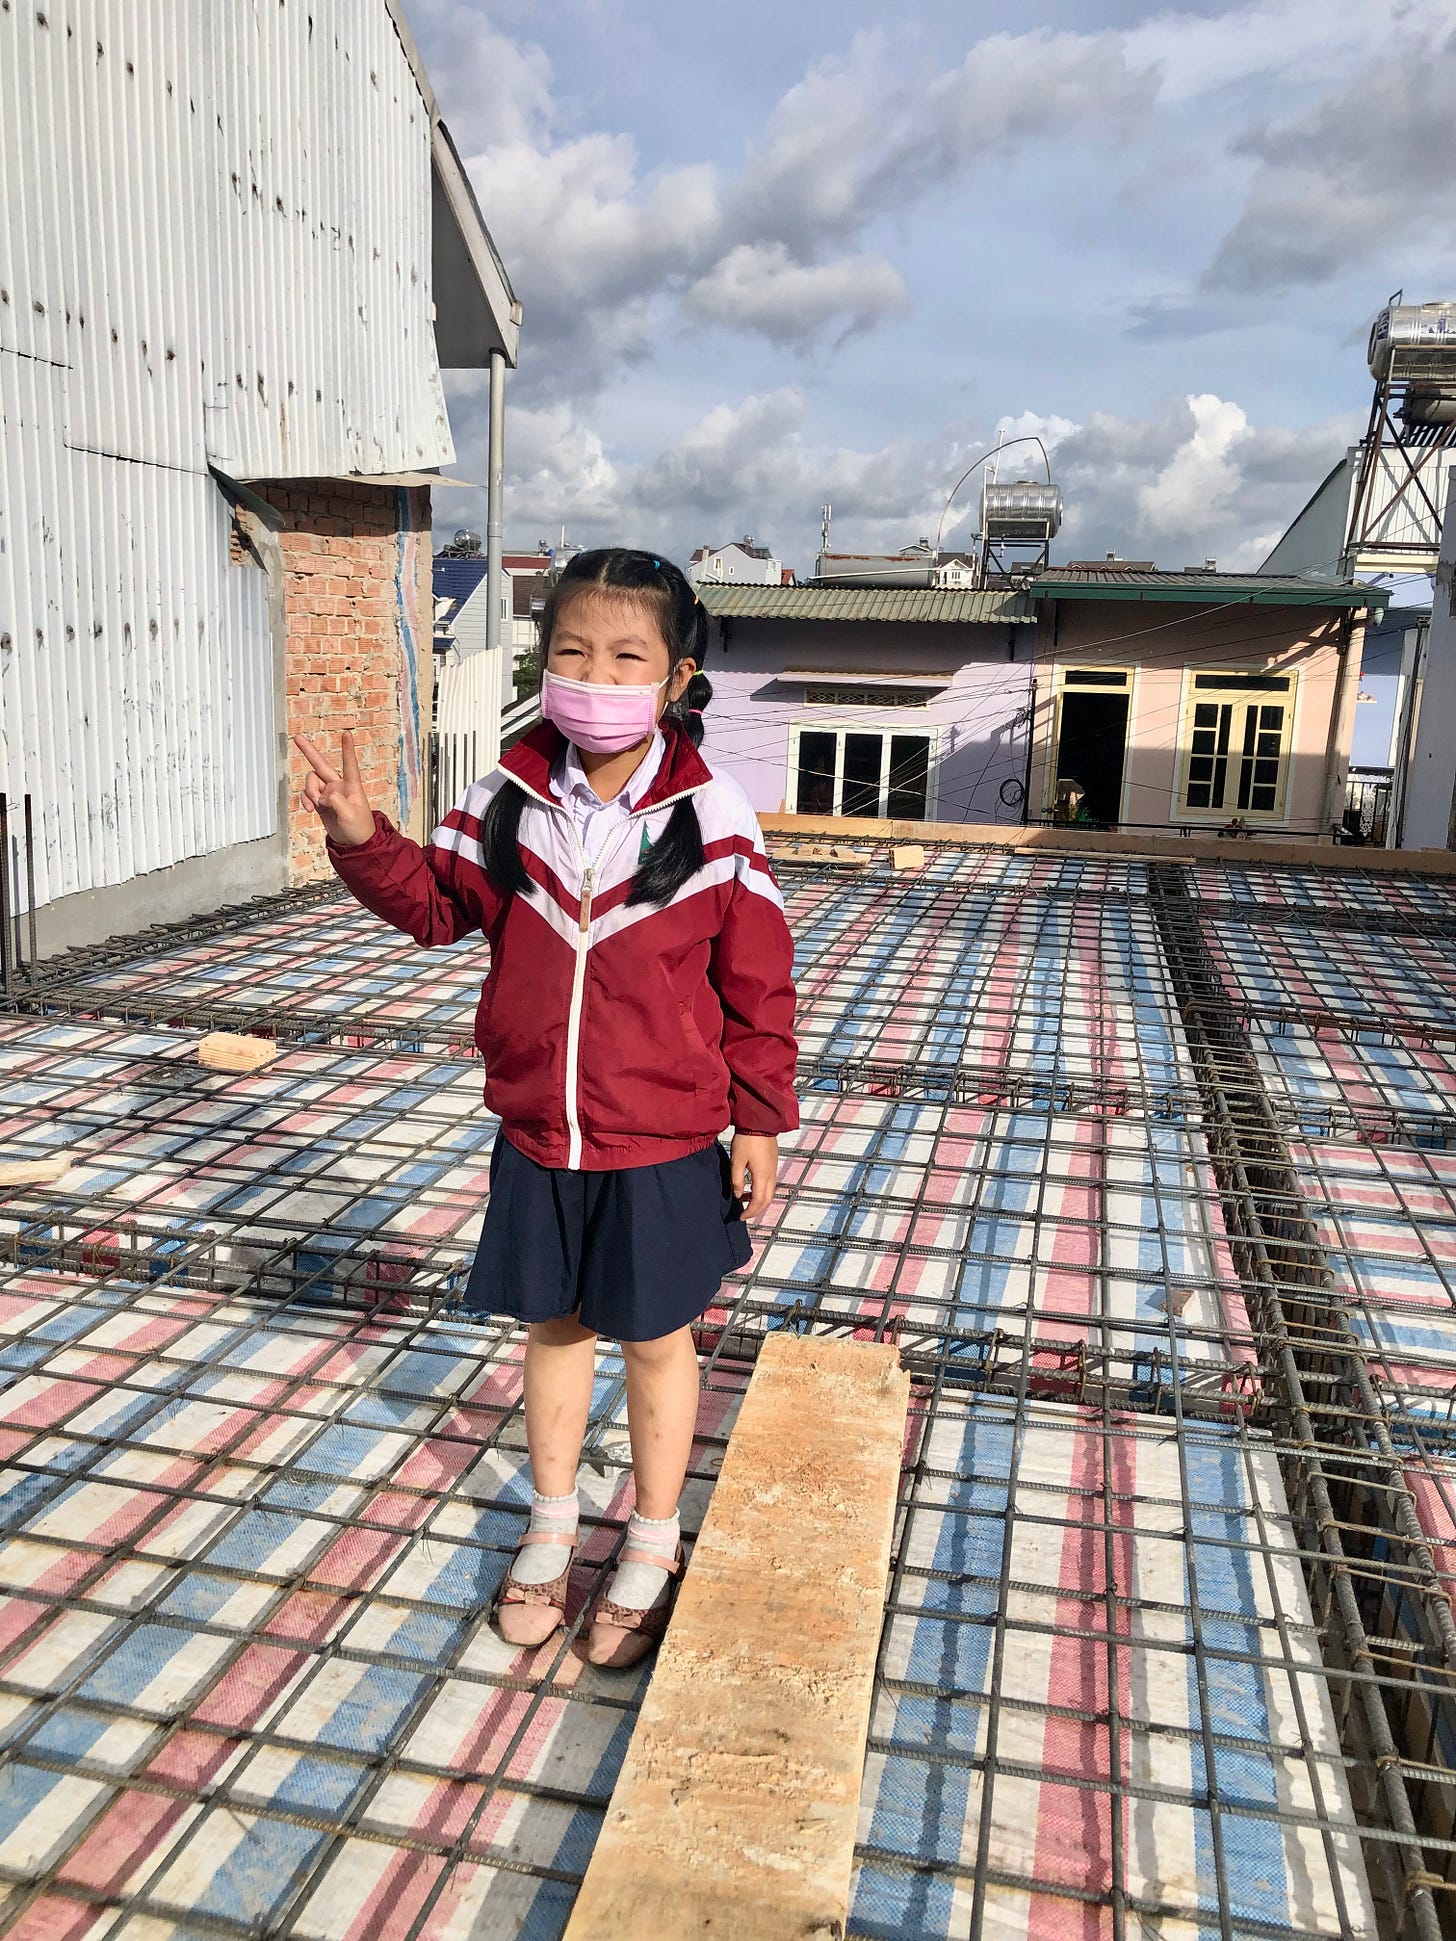
My daughter often wanted to stop by the job site after school, especially once started building her room that she helped lay out.

As I said above, we were 70m down a small hem, so the beams and columns had to be created in-place. Before they could pour a slab and beams, they had to create the columns that would support it. Each column was hand-poured:
Attach the rebar cage to the slab cage.
Build the wooden form 1/3 of the way up.
Stand on flexing board above the open elevator shaft.
Grab a shovelful of concrete, pivot, and pour it into the form.
Occasionally “stir” the concrete to ensure it settles properly.
Repeat until full.
Start the next one.
Here’s a drone shot of the second floor and surrounding homes.
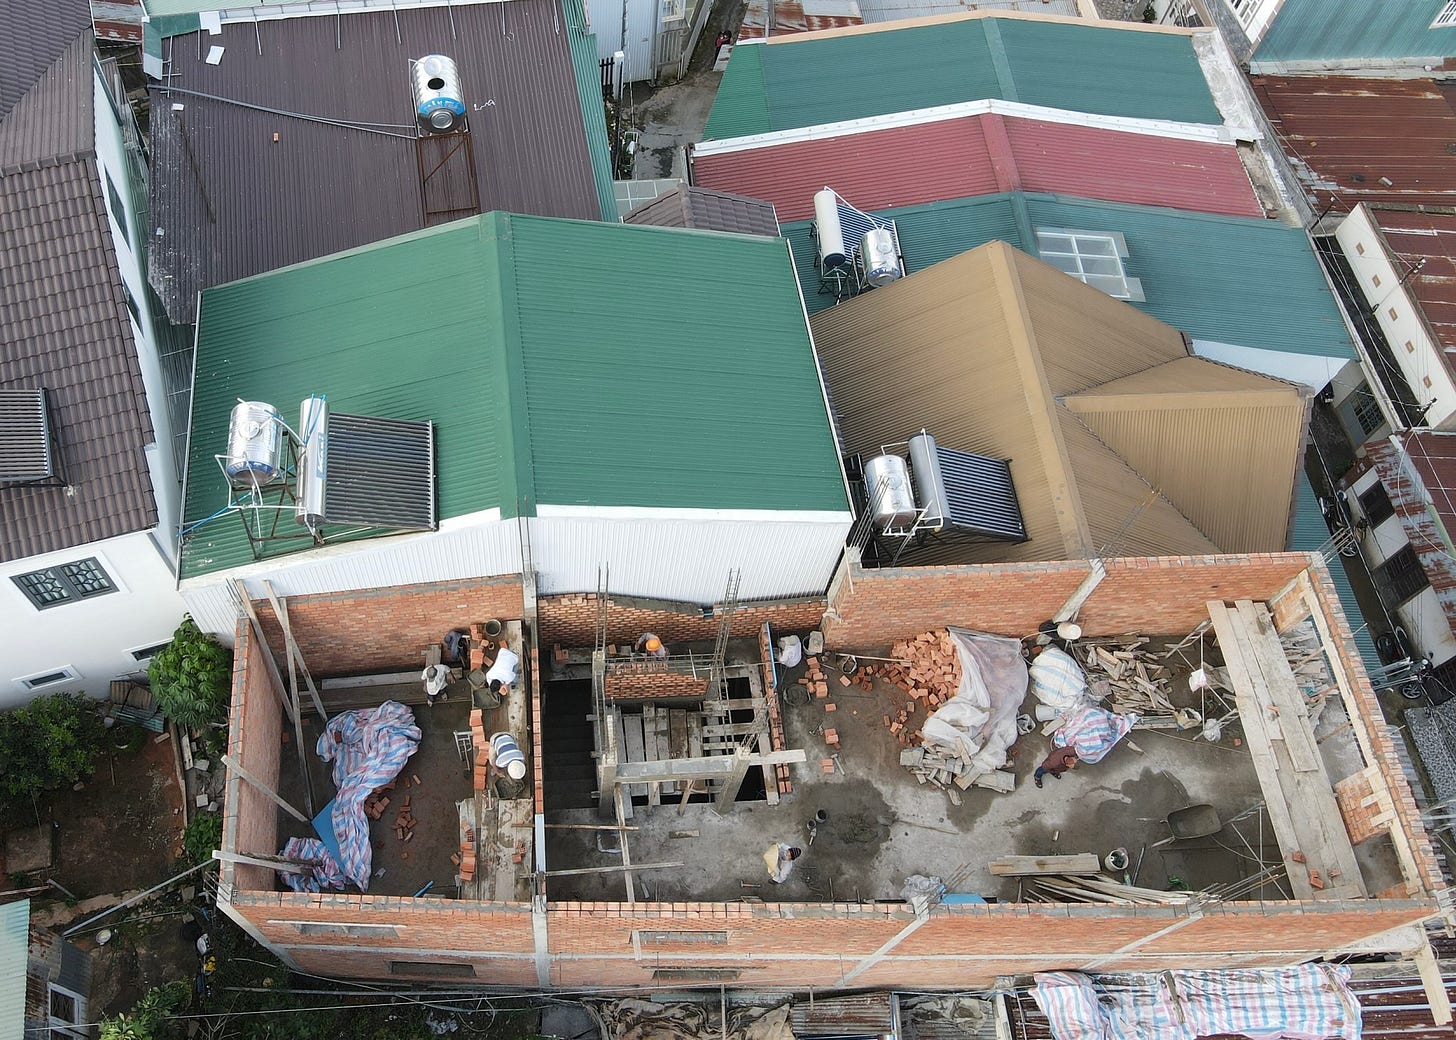
Many homes here are unable to take advantage of natural light and are fairly dark inside, especially on the ground and first floors, even in daytime. We were fortunate in that on the southwest side of our house the neighbor’s house is only one story for the back 3/4 of the property, which allowed us to have hallway and room windows on levels 1, 2, and 3.
Our house faces 140° (southeast). There is only one window on each of the northeast (on the right as you face the house) and northwest (back) sides.
Because I was building what I hope is a 100+-year house, I wanted to ensure that no matter what is built next to us there would always be natural light in the common spaces — hallways, living and dining rooms, and entry. In the drone photo above, look at the white house with the green roof. It’s the same house as on the right in the photo below.
When we started building our house, this house had two visible windows on the side shared with us (see red arrows at right below). Those windows are now covered by the walls of our house, making their rooms completely dark during the day.
The house on the other side of us (left side of photo above) had a partial first floor with a sliding window. It is also now covered by our walls. One day, that could happen to all of our side and back windows.
To ensure our house would always have as much natural light as possible, I designed the garage roof and the main roof to have a number of clear panels that would allow natural light to enter. The areas under these panels need no daytime supplemental light, even during a heavy storm when the sky is filled with dark clouds and rain.
On the house roof, the clear panels are directly above an opening “cut” in each floor, allowing natural light to penetrate all the way to the ground floor.

Three floors below, even without windows, there is more than enough natural light to move around comfortably between sunrise and sunset.
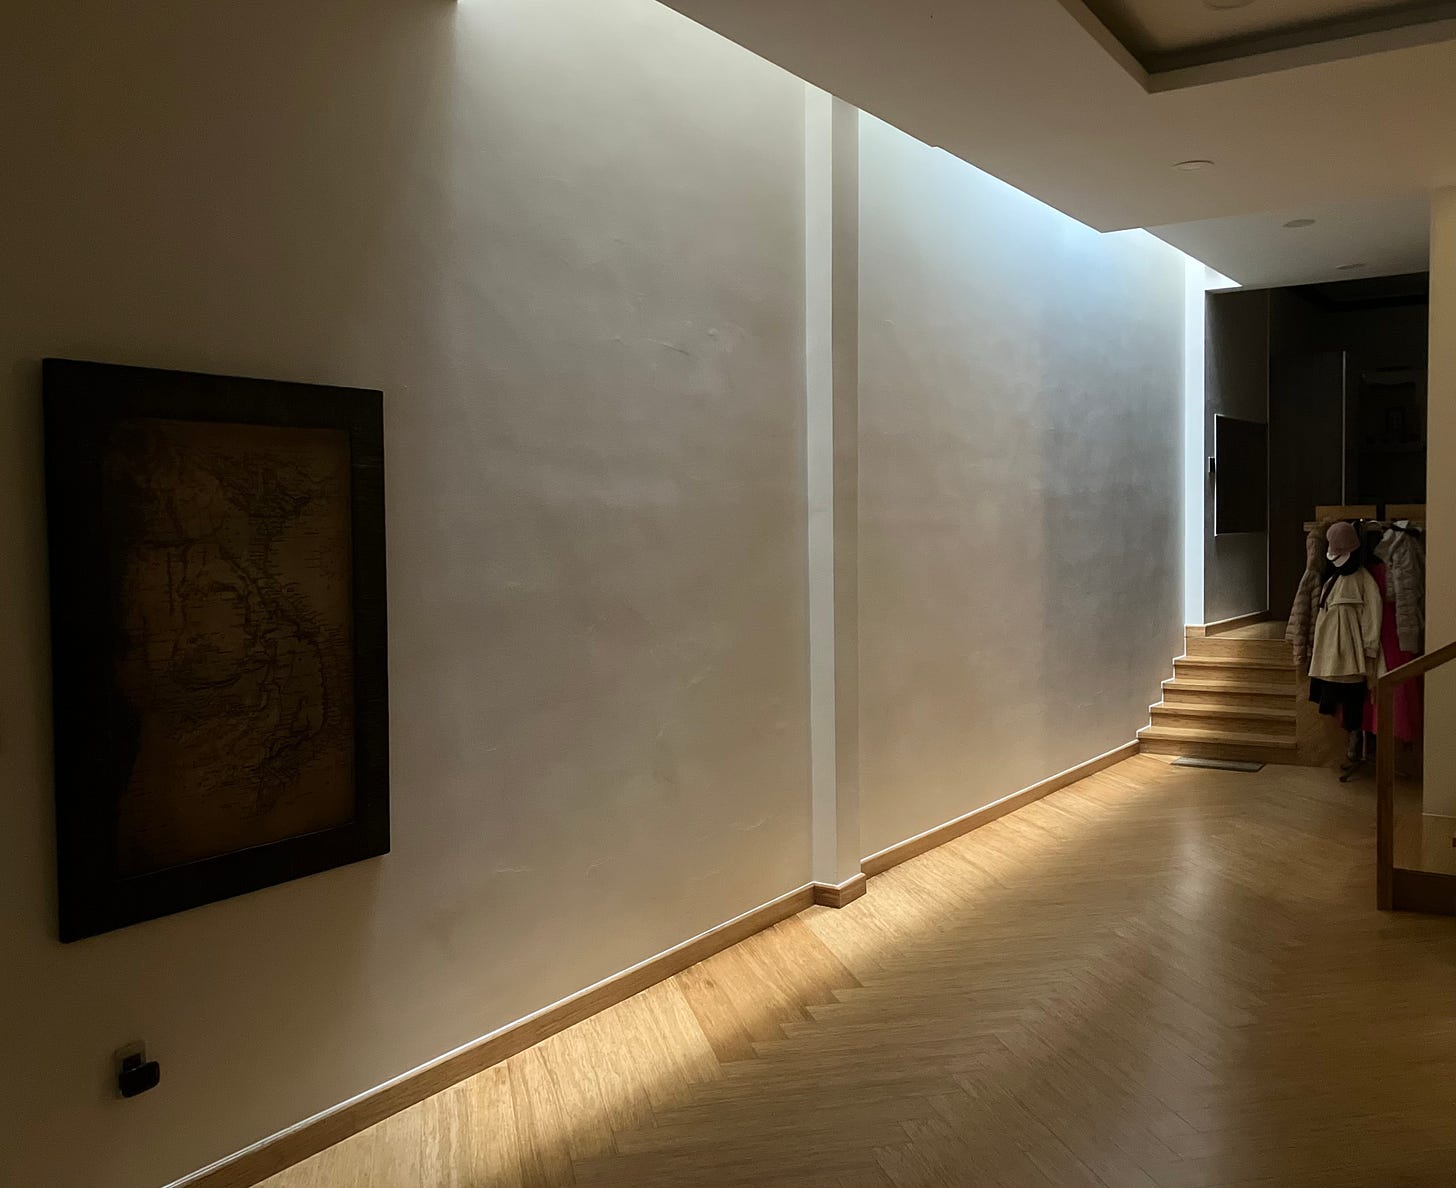
If the neighbor’s house does one day covers our windows, the roof panels will alone provide sufficient daylight so that we will never need hallway lighting during the day.
Still to come… installing electrical and plumbing inside brick walls; cement as a wall finish; why the walls look wavy; chasing leaks; and more.
If you haven’t yet read Part 5, please click here.
For everyone else, I’ll look forward to seeing you again next week. Cheers!
Which is probably best because I’m unsure how it would’ve been pumped out during the 10 months it took to build the house during the Covid pandemic.


